React Native: How to Setup Your First App (Archived)
Note: This article was published in 2018 and is now outdated.
A more in-depth and updated version of this guide is available here: Getting Started with React Native in 2019: Build Your First App.
The newer article covers the fundamentals of the React Native ecosystem more comprehensively and guides you through building a more advanced "Hello World" application. The original content below is preserved for historical purposes.
React Native is a framework for building mobile applications using JavaScript and React. It utilizes native UI components, which differentiates it from web-based frameworks. While React for the web uses a Virtual DOM to interact with the browser's DOM, React Native directly interfaces with the native components provided by platforms like iOS and Android.
At its core, React Native uses an instance of JavaScriptCore to execute the application's JavaScript code. Communication between the JavaScript and native code is handled by the RCTBridgeModule. This bridging mechanism is what allows React Native applications to integrate with native, platform-specific SDKs.
Key Differences from ReactJS
A primary distinction between React Native and ReactJS is the absence of a DOM in the mobile environment. Instead of HTML elements, React Native provides its own set of components that wrap native UI elements. For example, a <View> component is analogous to an HTML <div>, and <Text> is similar to a <p> tag. This means that web-based React libraries that render HTML cannot be reused directly in React Native. The framework also has its own platform-specific navigation modules.
Platform-Specific Design
Designing a consistent user interface across multiple platforms can be challenging. React Native provides mechanisms to detect the current operating system, allowing developers to apply platform-specific styles and logic.
Development Environment Setup
To set up a local development environment for a react-native-cli project, the following dependencies are required:
- Node.js (version >= 4.0)
- Native SDKs for each target platform:
- iOS: Xcode
- Android: Follow the official setup instructions here.
- The React Native CLI, installed globally:
code
npm install -g react-native-cli
Alternatively, for rapid prototyping without needing to install native SDKs, you can use tools like Create React Native App or the Expo client. This tutorial uses react-native-cli.
Creating a "Hello World" App
To scaffold a new application, use the React Native command-line interface:
react-native init HelloWorld
cd HelloWorld
The generated project structure will include ios and android directories containing the native project files.
To run the application, use one of the following commands:
# For iOS Simulator
react-native run-ios

# For Android Emulator/Device
react-native run-android
The initial run may take a few minutes. If successful, the default welcome screen will appear, and the Metro Bundler will start in a new terminal window.
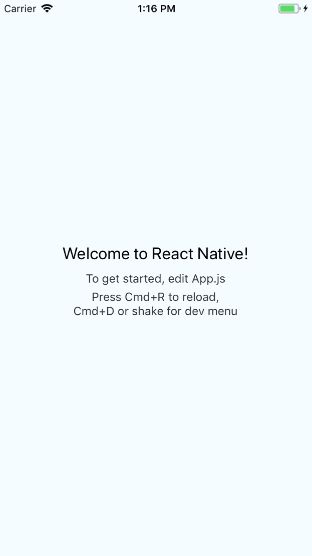
The code for this screen is located in App.js. The index.js file at the root of the project serves as the entry point. In React Native, the AppRegistry is used to register the root component (App) of the application, which allows the native system to load the app bundle and execute it.
// index.js
import { AppRegistry } from 'react-native';
import App from './App';
import { name as appName } from './app.json';

AppRegistry.registerComponent(appName, () => App);
You have now successfully set up your first React Native application. For more advanced topics, please refer to the updated guide mentioned at the beginning of this article.